
How to Edit Background Images: Complete Removal Guide


Table of Contents
- Key takeaways
- Why background image matters for product photos
- Before you start: Prep your image for better results
- Why background removal still matters (even with a white background)
- How to remove the background from images in just a few clicks
- Best background removal tools for beginners
- What to do after removal: Adding new backgrounds
- Final takeaway: Choosing the right background removal approach
- How to edit background images: Frequently asked questions
Key takeaways
- Clean background editing—removing distractions and isolating the product on a transparent or neutral backdrop—helps product images look more professional, consistent, and easier to reuse across websites, ads, and listings.
- Most modern background remover tools rely on automatic background removal, so starting with a simple photo (one subject and a light or white background) makes the editing process faster and more accurate.
- Beginner-friendly AI photo editing tools can remove the background from an image in just a few clicks, often producing a transparent background in seconds, even for users with no design experience.
- Free and paid online background remover tools work well for various needs, from quick one-off edits to managing multiple images for product photography at scale.
- Saving images as PNG files preserves transparency and ensures product images are usable across ecommerce listings, marketing assets, and graphic design projects.
You've invested in product photography: time, money, energy. But why do they still look wrong on your website? Often, it's the background. Too distracting, poorly colored, or simply not matching your site's aesthetic.
A messy or inconsistent background pulls attention away from your product and can undermine your brand. Clean, edited backgrounds do the opposite. They make products look polished and help your catalog feel cohesive.
In this guide, we talk about the most impactful type of background editing: removal. Removing backgrounds creates clean, professional product photos that work across any platform, and it's the foundation for all other background editing.
Why background image matters for product photos
For ecommerce brands, background images influence how products are perceived just as much as the products themselves. They affect clarity, consistency, and how easily shoppers can focus on what you’re selling.
When backgrounds are busy, inconsistent, or poorly matched to the rest of your site, even strong product photography can lose its impact. Background image removal is often the simplest and fastest way to fix this.
Effective background image removal helps you:
- Create consistent product shots across your site
- Keep attention on important details—no visual distractions
- Reuse images easily in ads, emails, and listings
- Present your brand professionally and build shopper confidence
Whether you're working with a single image or a full catalog, clean backgrounds are what make product photos feel cohesive and high-quality. The best part? Modern tools make this process straightforward, even if you've never edited a photo before.
Before you start: Prep your image for better results
Modern background removal tools use AI to automatically detect and remove backgrounds. They work best when the original image is clear, well-lit, and visually simple.
A clean starting image gives the tool clear edges, helping reduce errors and improve cutout quality during background image removal.
Keep the subject clear
When removing the background from an image, the tool needs to easily identify what should stay and what should go.
Best results come from images with:
- One main product centered in the frame, such as a single bottle, shoe, or device
- Minimal props that don’t overlap the product
- Visible edges between the product and the background
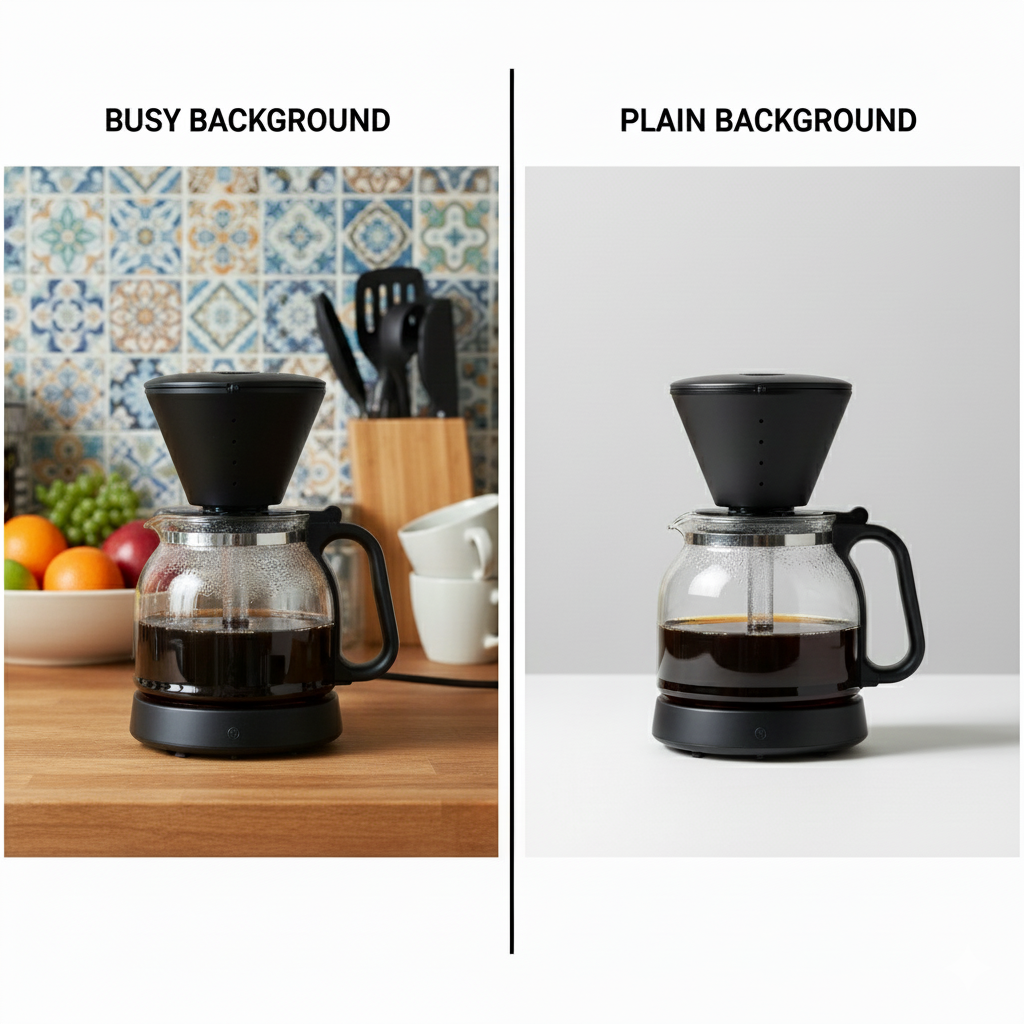
For example, a product photographed alone on a table is much easier to edit than one surrounded by packaging, hands, or decorative elements. Too many objects can confuse an image background remover and lead to uneven edges or missing details.
Compare these two images:

A product surrounded by visual clutter makes it harder for background removal tools to identify clean edges, often resulting in uneven cutouts or missing details.

Meanwhile, a product photographed alone on a simple surface gives background removal tools clear edges to work with, leading to smoother results and more accurate cutouts.
Be careful with transparent materials
Products made with glass, plastic, mesh, or fine details like hair can be harder for background removal tools to handle. Because these materials allow light and color to pass through, AI tools may struggle to separate the product cleanly from the background.
If your product includes transparent or semi-transparent elements:
- Expect some light manual cleanup during the editing process, especially around edges and reflective surfaces
- Choose background removal tools that allow manual refinement or edge correction
- Photograph the product against a simple, light background so your tool can more easily separate transparent areas from the background
For example, a glass coffee maker photographed against a plain backdrop is far easier to edit than one shot in a busy kitchen scene. Starting with a clean setup reduces errors and saves time later.
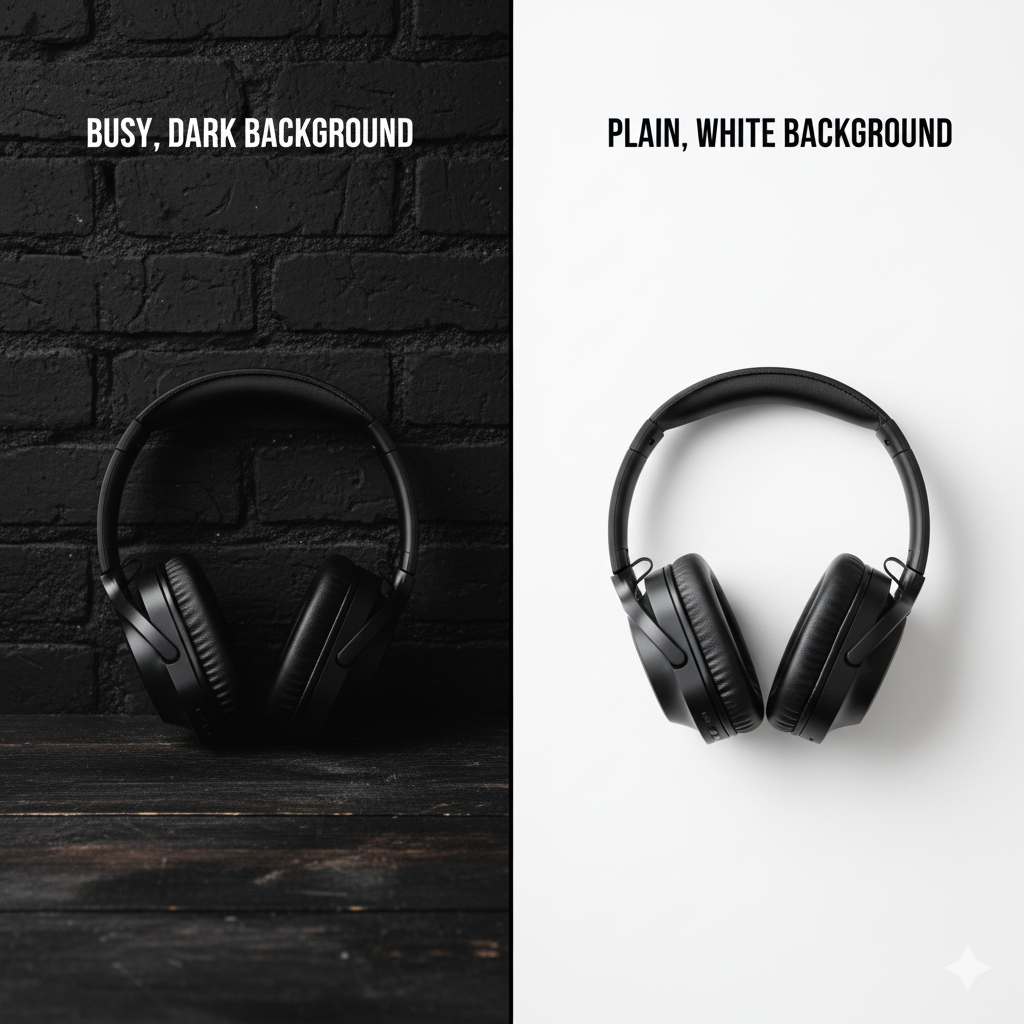
Use light backgrounds when possible
Starting with a white background or other light, neutral surface makes automatic background removal faster and more accurate. Light backgrounds create strong contrast between the product and its surroundings, which helps AI tools clearly identify edges.
This results in fewer jagged cutouts, less cleanup, and more consistent results across images.
Using light backgrounds helps tools:
- Detect edges cleanly, especially around curved or detailed areas
- Create smoother cutouts with fewer missed spots
- Produce images with fully removed backgrounds that can be placed on any backdrop
For example, a product photographed against a white wall or tabletop is far easier to isolate than one placed against dark colors, patterns, or textured surfaces.
Why background removal still matters (even with a white background)
Using a white or light background makes automatic background removal more accurate, but it doesn’t eliminate the need for background removal altogether.
In real photos, white backgrounds are rarely perfect. Shadows, lighting gradients, surface texture, and color casts can all show up once the image is placed on a website or next to other product photos.
Removing the background fully:
- Creates a true transparent image rather than a flat white surface
- Keeps product edges consistent across multiple images
- Makes photos easier to reuse across different pages, layouts, and campaigns
- Gives you flexibility to apply white, neutral, or branded backgrounds later
In short, a white background helps the editing process, but background removal is what makes a product photo clean, consistent, and reusable.
How to remove the background from images in just a few clicks
Most modern background removal tools follow the same basic workflow. You don’t need to install software, learn design terminology, or make manual selections to get usable results.
The process is largely automated, with a few quick checks along the way to make sure the result looks clean.
Step 1: Upload your image
Start by choosing an online background remover and uploading your image directly from your device. Most tools accept common file types like JPG and PNG.
At this stage, the tool analyzes the image to identify the main subject, detect edges, and separate foreground from background. Clear, well-lit photos with simple backgrounds tend to produce the best results.
Step 2: Let the tool erase the background
Once uploaded, the background remover tool uses AI to erase the background, often in just a few seconds.
Behind the scenes, the tool is:
- Identifying where the product ends and the background begins
- Tracing edges around curves, corners, and details
- Removing the background while keeping the subject intact
For most product photos, this step is fully automatic and doesn’t require any input.
Step 3: Review and refine
After the background is removed, take a moment to review the image closely.
Look for:
- Rough or jagged edges
- Small background remnants around handles, corners, or transparent areas
- Areas where the product may have been partially removed
Some tools offer simple refinement options, like erasing leftover background or restoring small parts of the product.
Step 4: Save a transparent version of your image
When you’re happy with the result, download the image as a PNG file. PNG files preserve transparency, which means the background stays removed instead of being replaced with a solid color.
From here, you can:
- Place the product on a white background for ecommerce listings
- Add it to branded layouts, ads, or social posts
- Reuse the same image across multiple pages without re-editing
What to expect from the process
For most images, the entire editing process takes less than a minute. While no automatic tool is perfect, modern background removal tools are accurate enough for everyday product photography and marketing use.
If the image looks clean at normal viewing size and consistent with your other product photos, it’s usually good to go.
Best background removal tools for beginners
Here are reliable options for background image removal, depending on your needs.
Adobe Express (free)
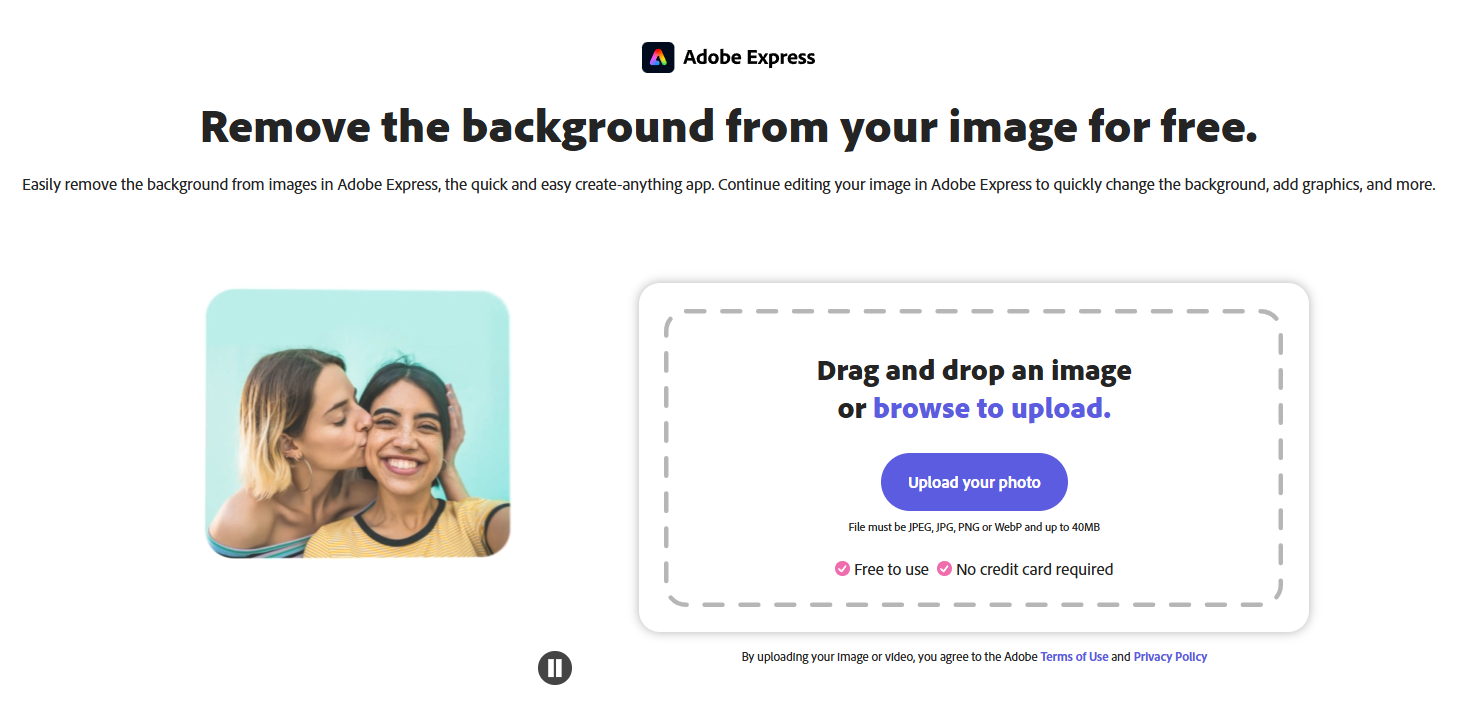
Adobe Express includes a quick, no-friction image background remover as part of its broader design toolset. You simply upload your image, and the tool automatically removes the background in seconds. No need to trace edges or make manual selections, which makes it especially helpful for beginners or one-off tasks.
Key features:
- Simple image upload with no setup required
- Fully automatic background removal powered by AI
- Fast access to background-free image downloads
Good for: One-off edits, simple product photos, and users who want a quick solution
Limitations: Minimal manual controls if you need fine edge adjustments
FileConv (completely free)
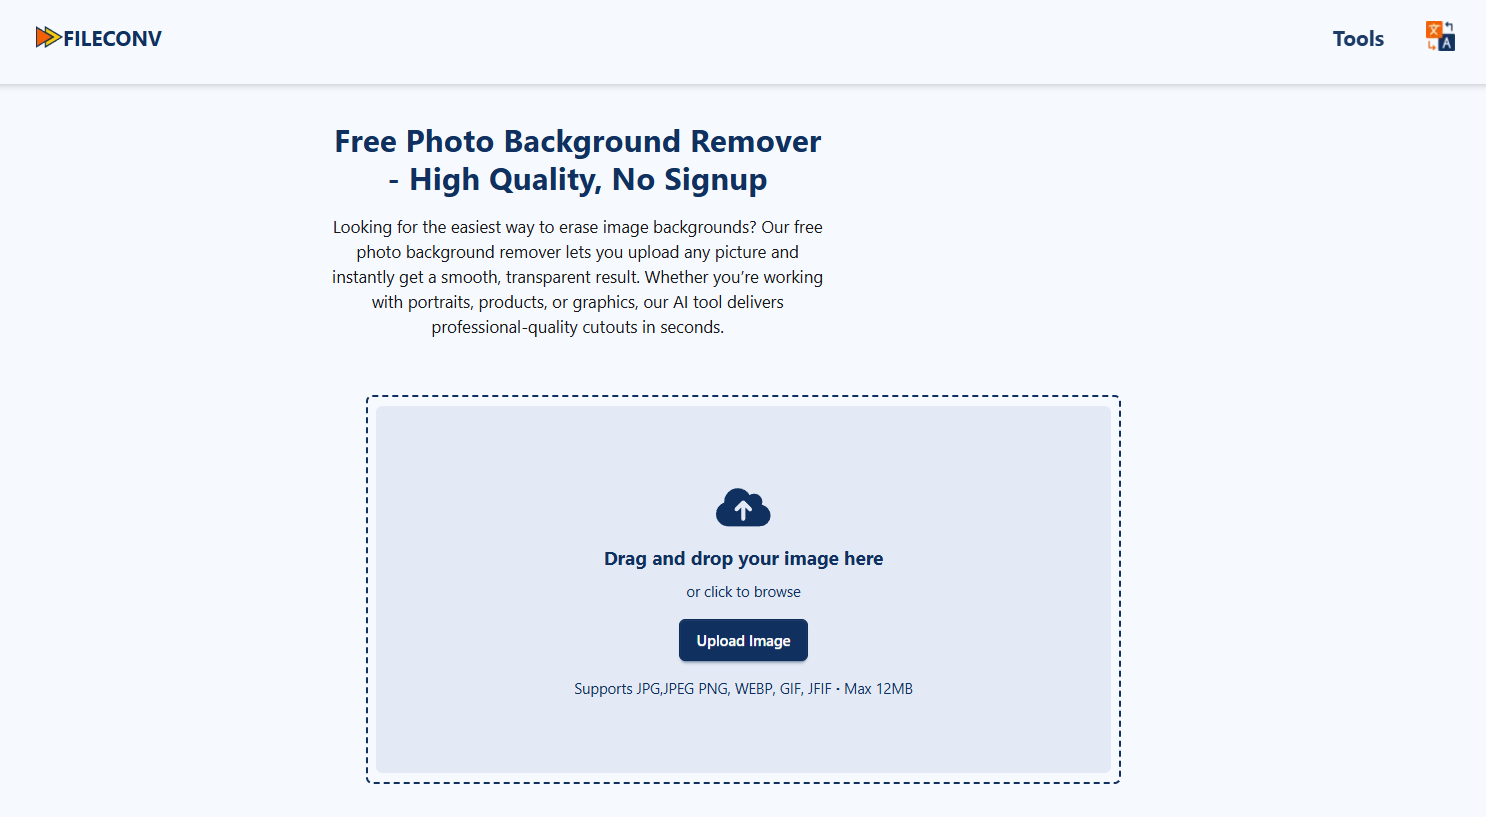
File conversion tool FileConv includes a lightweight online background remover—no setup or account required. Upload an image, let the tool remove the background automatically, then download the result.
Because it focuses on basic background image removal, it works best for straightforward photos where the subject is clearly separated from the background.
Good for: Quick tasks and simple photos
Limitations: Fewer refinement tools
Pixelcut (free with upgrades)
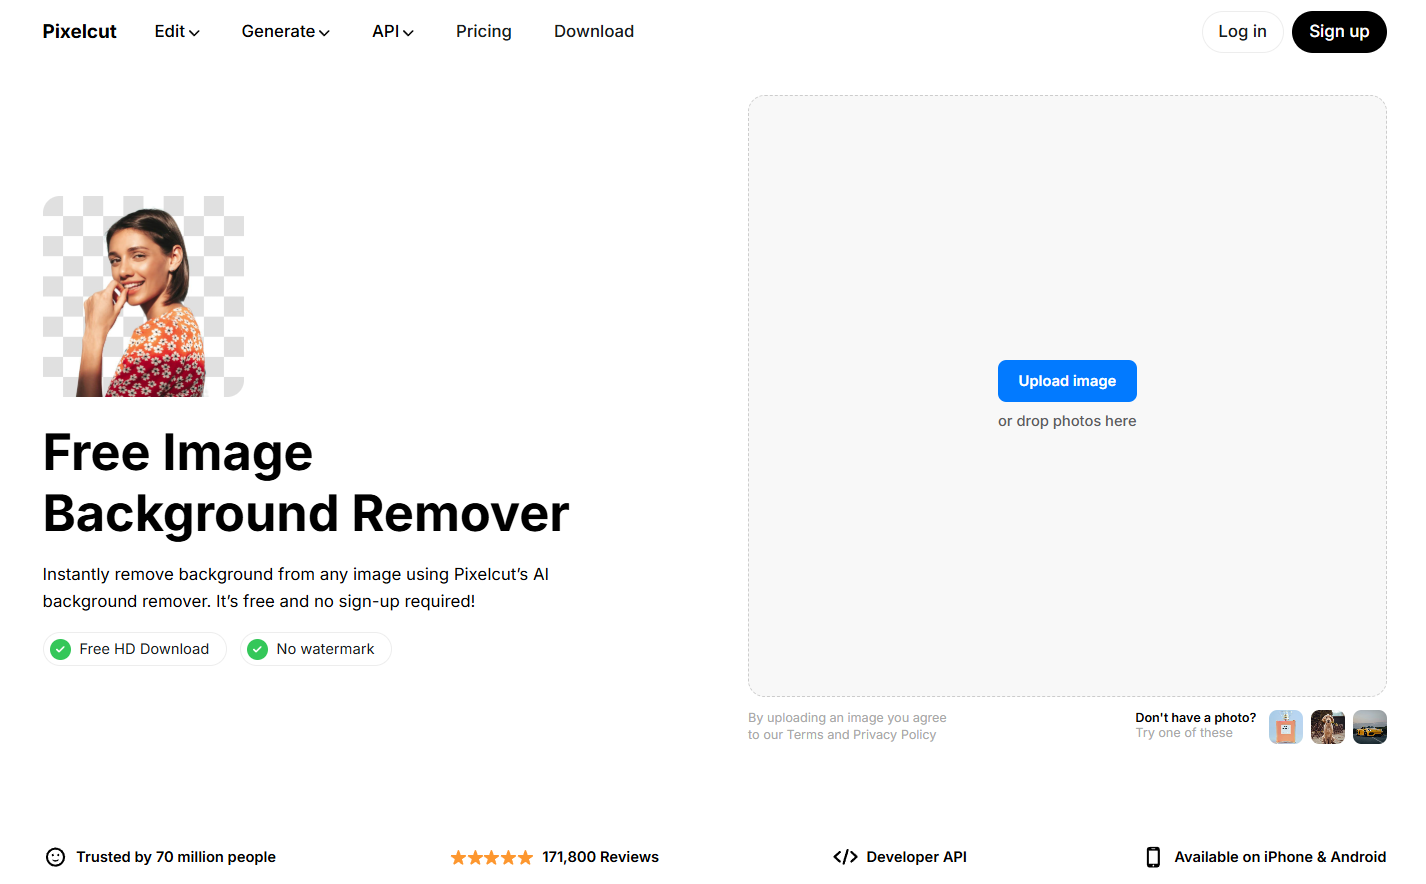
Pixelcut is an AI-powered image editing tool built for ecommerce visuals. It handles background removal and includes simple design features for quick graphic projects like promotional posts or ad creatives.
After removing a background, you can swap in brand-friendly colors or clean backdrops to keep your product images consistent across listings and social media.
Good for: Product photos and social content
Limitations: Requires login; free plan limited to three full-resolution downloads per day
Canva (paid)
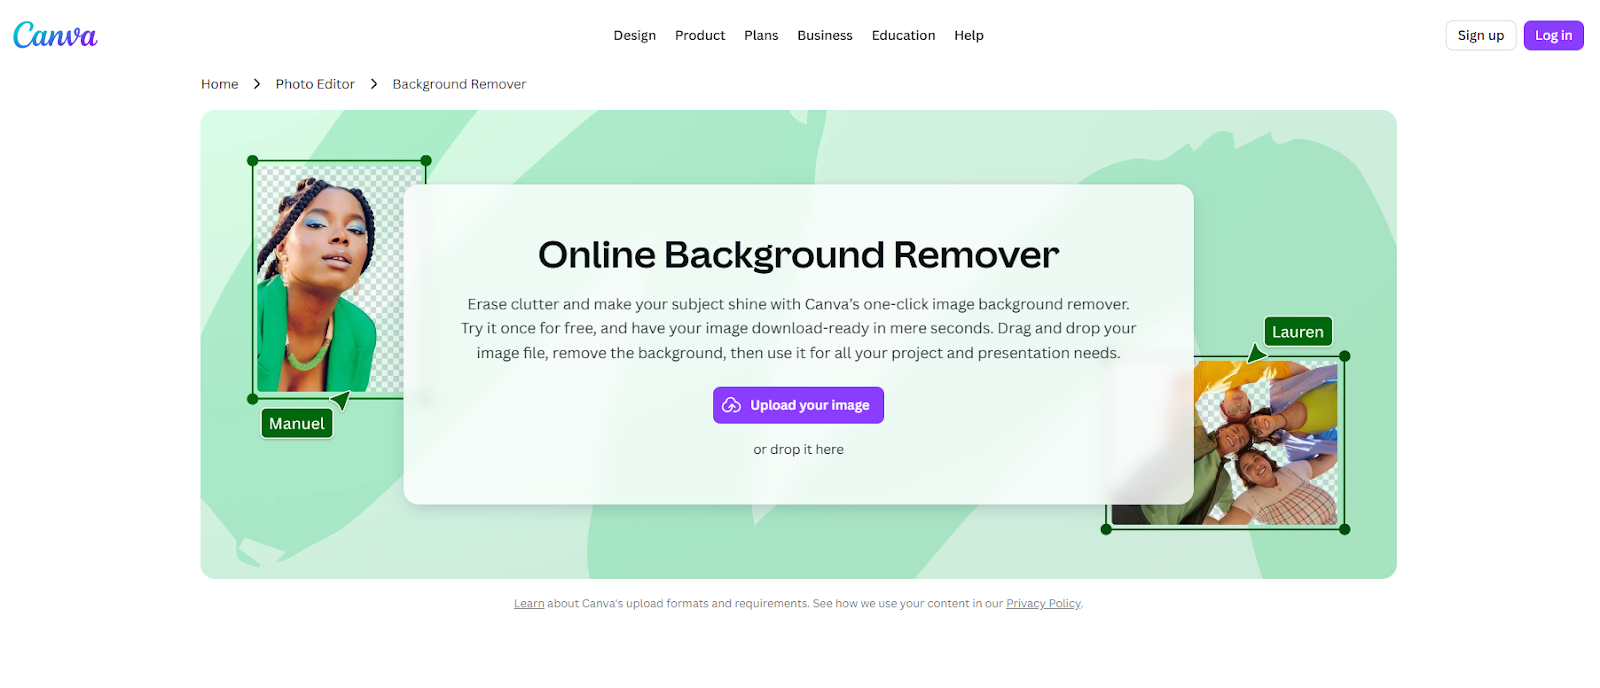
Canva is a full-featured design platform with built-in background removal. It's especially useful for teams or businesses that edit images regularly and want to manage everything in one place.
Once you remove a background, you can store product shots, reuse them across projects, and quickly create variations for websites, ads, emails, and print materials.
Good for: Ongoing visual content and multi-channel campaigns
Limitations: Paid plan required (Canva Pro or higher)
What to do after removal: Adding new backgrounds
Once you've removed the background, you have a transparent image that's ready to use, but you're not limited to keeping it transparent. Most background removal tools let you replace the removed background with a new one, giving you more control over how the product appears.
Common background options
Solid colors work well for ecommerce listings and create a clean, distraction-free look. White is standard for most marketplaces like Amazon or eBay, but you can also use brand colors or neutral tones that match your site's design.
Branded backdrops help product images feel more cohesive across your catalog. This might be a subtle gradient, a textured surface, or a simple scene that reinforces your brand aesthetic without pulling focus from the product itself.
When to use transparent vs. white backgrounds
Keep images transparent (PNG format) when you need flexibility, like reusing the same photo across different page layouts, ads, or social posts. Use a white or solid background when you need consistency across a specific channel, like a product listing page where all images should look uniform.
Most tools, including Pixelcut and Canva, let you swap backgrounds in seconds. Even free tools like Adobe Express allow you to download the transparent version first, then add backgrounds later using design software or compatible website builders.


